
STEM Based Paperless Morning Work!
- Carly Robertson
- Apr 29, 2020
- 6 min read
Updated: Aug 4, 2020
Ok let's get real for a minute. Its's 2020. Most of us went to school and were taught through the use of worksheet's and some group projects. I'm sure you made a diorama or a poster here or there but most of the time it was "complete page 42 in LMNOP workbook. Now we will go to page 17 in XYZ workbook." Are you bored yet? Of course you are! Nothing wrong with the way that most of us were taught BUT when you know better, do better!
So now we know better and can do better so let's think of our own classrooms. How are you starting your student's day? Take a minute and think about how your "morning work" time is set up.
Do your kids come in and immediately get on a computer program?
Do they come in and read quietly?
Do they come in and complete a page out of a workbook?
How you have your morning routine set up sets the tone for your classroom and your day! Giving your kids the structure and independence that they deserve and want is key. Your morning time should be set up in a way that no matter what day it is your student's know what they should be doing once they enter your classroom.
So how can you infuse content, differentiate learning, create independence and foster creativity and individualization all in one fell swoop with kids anywhere from 5 years old to 10 yers old? Sounds like an impossible task doesn't it? Well IT'S NOT!
Step 1: Gather Materials
Deciding how you want your paperless morning work to look is first. My classroom is set up that every morning is a different theme and each theme is STEM/STEAM based. You can create morning tubs, bins, or baskets with different materials in them such as puzzles, markers and paper, board games, fidget manipulative, legos. Really the possibilities are endless! Remember, young children learn best through play and this is a great way to hit the standards that we all need to teach as well as let your student's be kids! Below is a list of items for a maker space or area in your classroom that you will house your morning work materials. The maker space in our classroom is used all day everyday and I am still not sure how I ever taught without one! It is the hub for many of our morning work materials!

Step 2: Create a Routine!
During the first month or so of school my main goal for our entire classroom is routines, routines, routines. Teach your expectations for each routine explicitly and you have a great foundation for your year. Now to set up your routine for your "morning work" time you need to decide what it is that you want your student's to DO each morning. My student's have a different task each day of the week and as long as they know the day they can tell anyone "Oh yeah today is Task Card Tuesday." or "It's Friday so its Free Choice Friday" Your goal should be to set up your routines and procedures so that at any point the kids can run the show with you as the monitor of their learning!
For example here is how our morning is broken down each day. I have these posted in our classroom as well. They are a great visual, especially in the beginning of the school year, and are also great for substitutes or visitors to your classroom to see!

Monday: Maker Mat Monday Tuesday: Task Card Tuesday Wednesday: Write It Wednesday Thursday: Think It Thursday Friday: Free Choice Friday
If you would like to take a dive into what each of these days looks like! Click HERE!
Step 3: Reinforce Expectations
Telling your student's what to do and modeling what to do are two totally different approaches. Trust me I've done both and 9 times out of 10 when I tell them what to do I have half my class coming up to me 2 seconds later asking "What do I do?" Model, model, model! If you feel goofy doing it then good, you've probably got their attention! There are times during our morning work where I have had to call a quick meeting to discuss expectations during that day and what it should look like. 2 minutes or less and then they are back to try again. You want your morning work time to be as little work for you as the teacher! This should be a time that you can meet and do Sip & Chat's with your kids, take attendance, or simply observe them learning!
Step 4: Get Started!
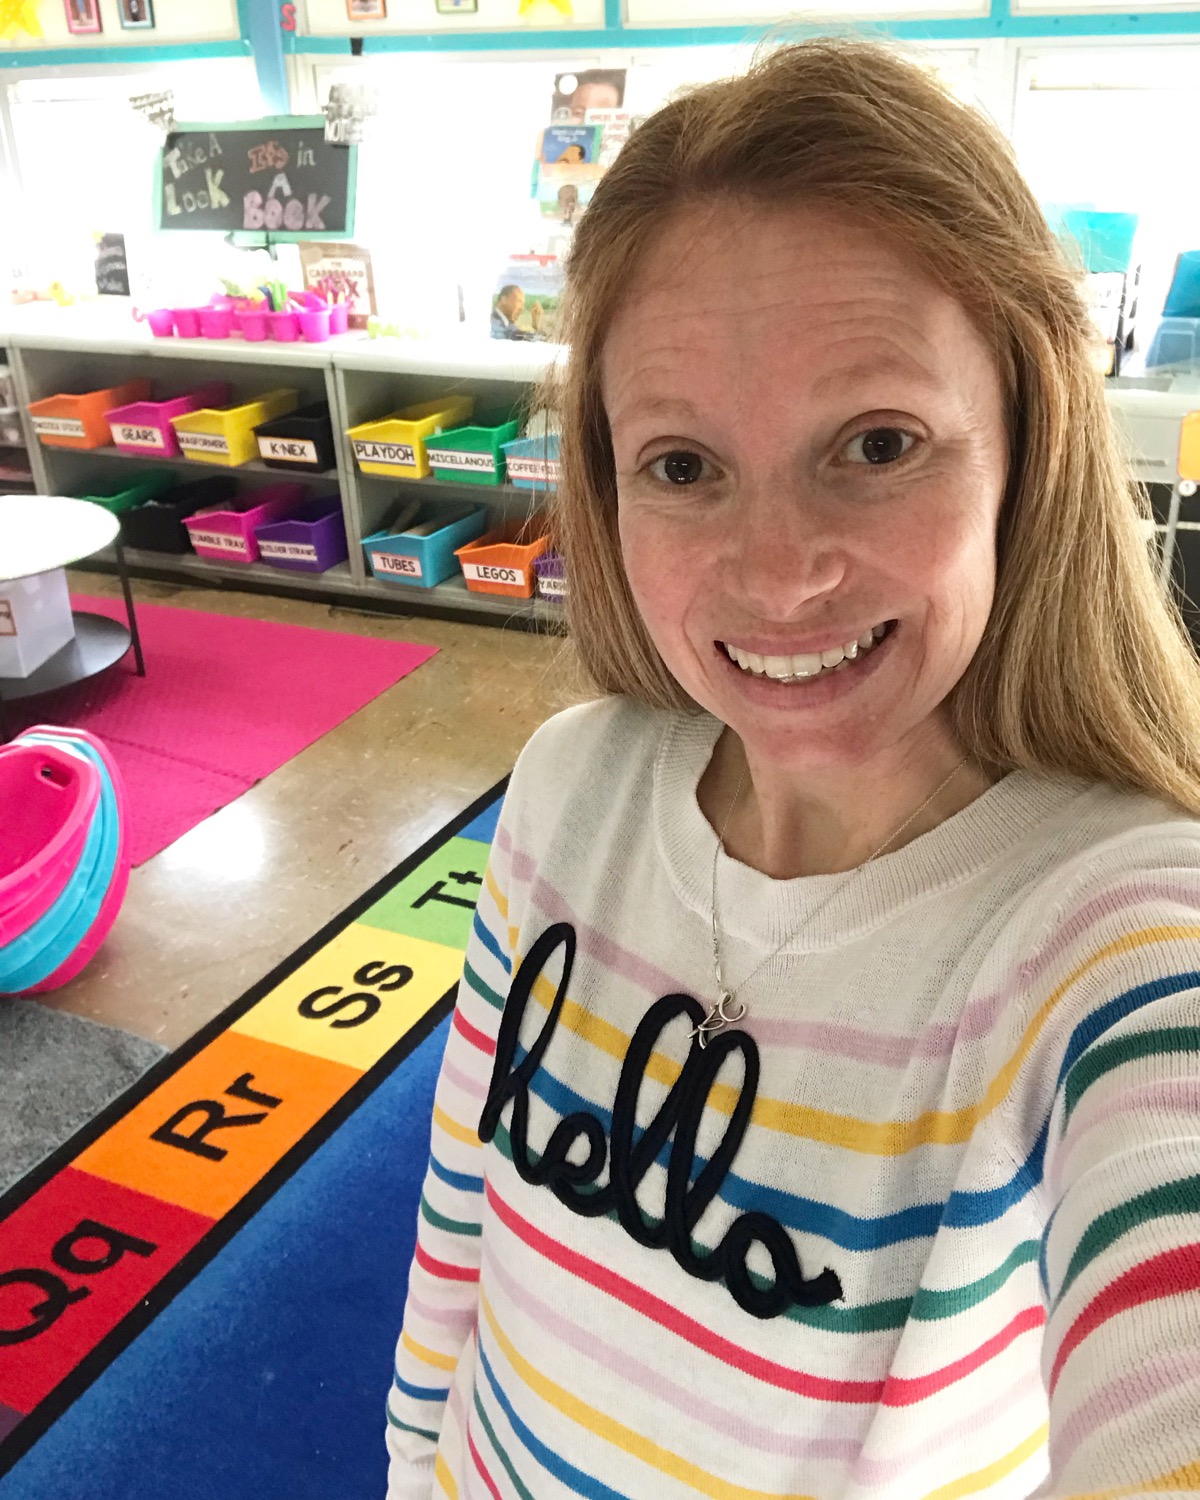
Now that you've got your routine established and your expectations set your student's should be ready to start their paperless morning work! How this looks in your classroom is totally up to you! As I said above it can be STEM/STEAM based every morning, fun tubs with games/puzzles/crafts its completely up to your creativity. Below is what the maker space in our classroom looks like. It's a space where all of our materials for their morning work are kept as well as can be utilized throughout the day for other learning opportunities.

Each of my student's also have a composition notebook that is their STEM Notebook for the year. Any write its or STEM challenges that we do go in that notebook. Its kept on the maker space shelf and the kids know on Wednesdays after they build they grab a quick write and complete and then add to their notebooks. I use Brooke Brown's Quick Write's which you can grab HERE. They are perfect for any K-5 student and I love how it lets me incorporate writing in with their build for the day.
Step 5: Incorporating Technology
60% of the jobs that our student's will have later in life are not even created yet! That is an amazing number and part of that number includes jobs within the technology field. Teaching children how to use technology effectively is part of our jobs as educators. Teaching my student's how to use technology as a learning tool is a huge goal of mine every year. Effective use of technology can transform your classroom as well as your student's learning and their way of showing you their learning!
Some of the technology resources that my students use DAILY with our paperless morning work are Seesaw and Piccollage. These are both super easy tools for students to learn and use and are great support for a paperless learning environment.
Seesaw is an online learning journal that student's can post pictures, videos, drawings, add to photos and so much more. Their parents can also connect to their child's journal and in real time see what they are posting. They can comment and even ask questions on their child's posts as well as other student's in your class. You can choose to have those comments post automatically or you have to approve them before posting. It's fantastic!
The other tool that we use daily is Piccollage. Piccollage is a photo collage app that you can add photos too, take photos, add text, web search for images, and so much more! Your student's can save their creations that they make within Piccollage and send it to their Seesaw journal as well! Piccollage is great for a paperless learning environment as well as another way for student's to "show what they know" by having access to this resource!
Step 5: Ready, Set, GO!
If you have made it this far, thank you! You now should have a good idea of how to get started on a paperless morning work routine as well as some ideas for each day! If you are looking for more ideas feel free to reach out and ask, I would be happy to help!
If you would like the posters of each days STEM morning work schedule you can find them HERE. I have included an alternate choice for each day incase you choose to do a paperless morning work but it isn't necessarily STEM themed each day. You, of course, are more than welcome to make your own schedules and I would love to see those as well!
When you get your morning work routine all set up I would love to see it. Tag me on Instagram at @elementarylittles! Happy Creating, Building, Making, and Learning!


A coworker dropped https://theplanetclicker.net/ in our team chat during a slow afternoon, so a few of us tried it out for fun. The site stayed stable even with several of us opening it at once on different machines. Everyone figured out how to play right away without needing an explanation.
https://de88.net/ hôm trước mình thấy mấy đứa bạn share nên bấm vào coi thử cho biết thôi. Mình không có ngồi đọc kỹ hay làm gì nhiều, chủ yếu xem giao diện có dễ dùng không. Vào cái là thấy trang nhìn khá thoáng, kiểu chia nội dung thành từng khối riêng nên lướt xuống không bị rối. Mình cũng thích mấy chỗ họ trình bày dạng cột/bảng gọn gàng, nhìn qua là hiểu đang có gì chứ không phải căng mắt tìm. Với lại menu để ngay chỗ dễ thấy nên mình bấm qua lại vài mục khá nhanh, không bị vòng vèo. Nói chung cảm giác như họ sắp xếp thông tin có trật tự, nhất là mấy…
bongdanet.biz mình vào thử đúng kiểu “cần xem nhanh” nên không kỳ vọng gì nhiều, ai ngờ mở ra là thấy bảng livescore chiếm chính, nhìn phát hiểu luôn. Giao diện không rườm rà, kiểu ưu tiên số liệu nên lướt trên điện thoại cũng ổn, không phải bấm qua lại nhiều. Mình để ý cái mốc thời gian cập nhật có ghi rõ GMT+7 nên lúc xem lại tỷ số đỡ bị lệch giờ, nhất là mấy trận đá khuya. Chưa kịp đọc phần nhận định hôm nay, nhưng riêng phần hiển thị kết quả theo dạng cột gọn gàng và bảng phía dưới nhảy realtime liên tục là thấy tiện rồi.
xosoplus.com dạo này thấy nhắc nhiều nên mình cũng ghé thử cho biết, chủ yếu xem giao diện có dễ dùng không thôi. Vào cái là thấy họ làm kiểu đơn giản, khoảng trắng vừa đủ nên nhìn nhẹ mắt, không bị nhồi chữ. Mình lướt trên điện thoại thấy menu đặt khá hợp lý, bấm qua lại mấy mục không phải tìm lâu. Thông tin cũng được chia thành từng khối rõ ràng, kiểu nhìn phát là biết đoạn nào đang nói gì, không bị lẫn. Mình không ngồi đọc kỹ nội dung, nhưng cách canh hàng và chia cột nhìn gọn, kéo xuống vẫn theo mạch. Nói chung cảm giác họ ưu tiên cho người xem lướt nhanh,…
https://gmnc.club/ dạo này thấy mọi người nhắc hoài nên mình bấm vô coi thử cho biết. Không có đọc kỹ nội dung đâu, mình chỉ để ý trải nghiệm lướt trên điện thoại thôi. Vừa vào là thấy giao diện chia khối khá rõ ràng, nhìn cái là biết chỗ nào là phần chính, không bị nhồi chữ nên đỡ rối mắt. Cái mình thích là menu đặt dễ thấy, bấm qua lại mấy mục nhanh gọn, không phải kéo lên kéo xuống tìm hoài. Mấy chỗ hiển thị thông tin cũng trình bày theo dạng cột gọn gàng nên đọc lướt khá nhẹ đầu. Nói chung dùng ổn áp, nhất là cách họ sắp xếp các khối nội dung…